Mehndi, what is that?


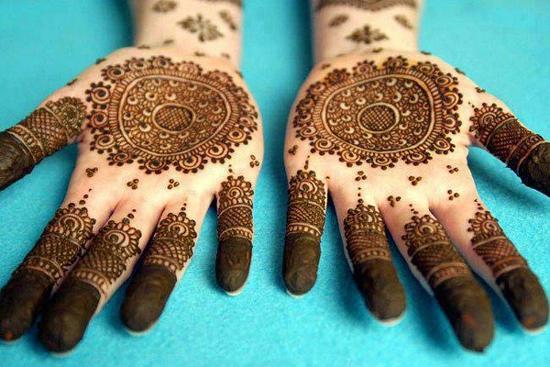
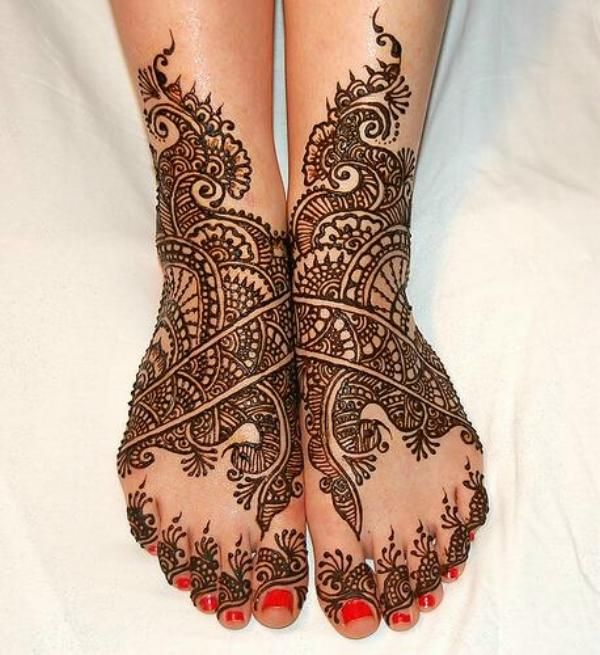
Mehndi is the art of painting the hands or feet, or even the body, with a paste made from dried henna leaves. It creates a stain that ranges from bright red to a dusky brown, but this color is prone to fading with time and strength and quality of the paste you make.
Mehndi started in Egypt over 5,000 years ago and has been used for various artistic and religious uses ever since.Here in the West, it has become popular as a temporary form of tattooing.
Different cultures created different styles of applications. Whether it is the geometric patterns popular in North Africa or the fine designs of India and Pakistan the patterns are created by applying the paste to the skin. Allowing the paste to dry stains the skin and brings the vibrancy of the colors out.
Traditional weddings in India are occasions for brides to be adorned with henna. The Hindu tradition calls for both the bride and groom to attend the henna painting, along with friends and family. This event, prior to the actual wedding is an observance of the Mehndi art as he paints the bride with traditional symbols that can take on a festive atmosphere.
An additional, and older practice, is to mark the end of Ramadan, the Islamic month of fasting, with getting henna tattoos. These designs celebrate the success of Ramadan, which includes abstinence from paying attention to your own physical looks and beauty. To celebrate, Mehndi artists paint intricate designs on Muslim women.
Although henna has been used as a celebratory event for generations, the important thing to remember about Mehndi is that it is a social event. Friends and family can gather to apply henna tattoo, not for religious or ceremonial use, but as a way to socialize and create beauty.
History of Mehndi
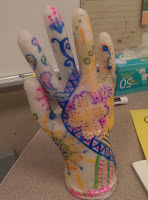
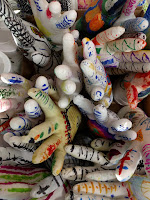
Students began their Mehndi design on paper before transferring their ideas to the rubber glove. Gloves were to include a varied of patterns and different types of radial designs.
Student wore their gloves as they draw their patterns; invoking the feeling that the intricate patterns were becoming part of their own skin.
When we finished drawing, the gloves were stuffed with batting to the base of the palm leaving room for a foam cup to be used in the wrist for a base.
Hints:
- Rubber-bands can be used around the wrist to help straighten out the wrinkles while drawing. Just be careful not to twist them around too tight.
- Sharpie markers are a must, but can still smudge if handle to much.
- Rubber gloves and tear easily, be careful.
- And a special thanks to Valerie Heath for lesson plan!
- And Dick-Blick for the great ideas! Here is their art-lesson on Mehndi Design


