Wednesday, May 4, 2016

8th grade: Alternative Self-portaits, Symbols

I cannot take credit for this lesson, my fellow art teacher Valerie Heath was my inspiration. Check our her blog here.

Instead of drawing our face we used symbols and the meanings behind them. The kids gave an explanation behind each symbol, allowing me to learn more about them. Explanations were done behind flap to give the students some privacy. I required 7 paper flaps, one needed to be their name and no repeats.  You learned so much from these tiny images!

1.Watercolor a background that fits your personality (colors, lines, symbols or words)

2. Attach paper flaps with personal symbols and write you explanation inside

3. Color symbols


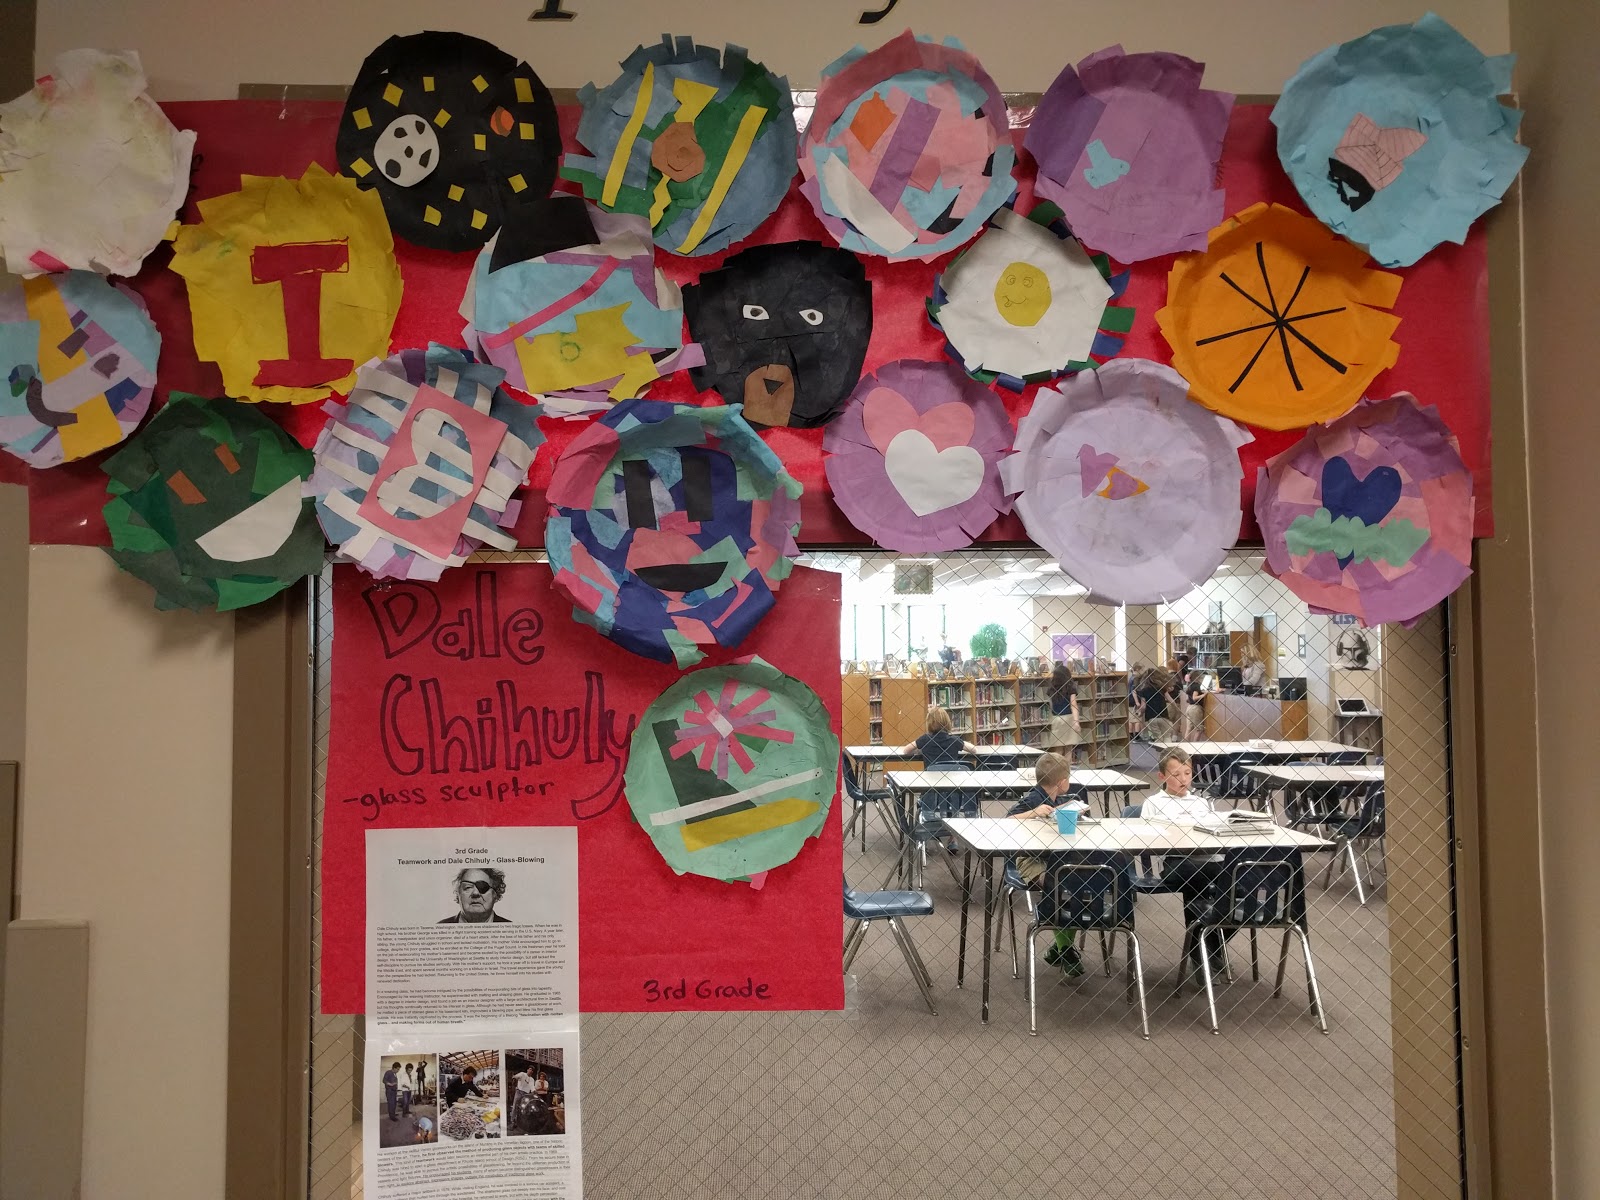
3rd grade: Dale Chihuy 3D Paper

Metal pie tins, and scrap paper, and glue. Oh my! 
My scrap paper bin was over-flowing, what to do? Lets do paper-mache! 

Third graders had a blast getting their hands messy creating these paper sculptures inspired by the glass artist, Dale Chihuly. We dipped our paper strips into a mixer of glue and water then laid them in a metal pie tins, which we were using as our forms. It took awhile for them to dry, but it was worth the wait!  3-4 layers of crisscross paper are best, 1 layer will fall apart. Our mixer was more glue than water. Remove any excess mixture. Do this by lightly sliding two fingers from the top to the bottom of the strip of paper. Hold it over the bowl so it drips back into the container. 


My paper scrap bin in now empty. lol

4th grade: Dale Chihuly sculpture

Dale Chihuly inspired coffee filters. Just use markers on a white coffee filter, wrap around a form (we used red solo cups), attach with a rubber band, spray with bottled starch, and let dry. The starch will blend the colors and help the coffee filter keep their form once removed from the cup. We finished the project by gluing the tiny sculpture to a square of construction paper.


7th Grade: Warhol Self-Portraits (Pop-art)

Bright bold colors coming at ya! Seventh grade created these bold new looks by first tracing their own printed images on to a clear slide, We then added crazy colored backgrounds inspired by the king of pop-art, Andy Warhol.

We cut apart our photocopy image and traced our body, face, hair, and arms separately on to card-stock to make sure colors were in the correct location.  Once the paint was dry we sandwiched their background, clear slide, and frame together giving them a finished look.   Backgrounds and tracings are slightly off for a nifty off-set printed look.


Wednesday, April 6, 2016

2nd Grade: Monkeys, Warm and Cool Colors

Color Theory: Warm and Cool Colors

2nd Grade: Sub-Lesson Lego Super-Heros

Another sub-lesson:
My second graders were challenged to change their blank Lego person in to a super hero. I requested that their first one needed to be an original design, any after that could be a hero of their choice. Is that Aqua-Man? Love my students.

2nd Grade: Louise Nevelson

2nd Grade Assemblage Art


Louise Nevelson was an artist known for her monochromatic abstract sculptures.

In the 1940s, Nevelson experimented with different styles and materials such as wood and junk that she found in the streets of New York. She began working with monochrome paint, particularly black, and assembled the sculpture pieces in groupings.

One of her famous wall pieces might be constructed from bits of old chairs, scrap wood, salvaged railings and rusted gears, but all of these disparate pieces have been abstracted into a unity of form through a single color of paint. Her artwork illustrates the power and simplicity of materials. No matter how humble the supplies those materials can create something beautiful.